Separating CSS: IDs and Classes
Introduction
When it comes to web development, I have a passion for creating good user experiences, I thrill in the challenge of constantly learning and growing, and I value the importance of developing responsibly.
But I love CSS.
I'm also an artist, and have spent much of my life pursuing artistic pleasures and learning techniques. And I clearly remember the moment when I fell in love with web development (although I didn't even know that's what it called was at the time). It was about ten years ago when I discovered the CSS Zen Garden. As soon as I realized that CSS was like painting with code, I was in love. And as I grew to learn about the separation of HTML and CSS, and the responsibility of writing quality code, and the importance of future maintainability, I also came to believe in the needs for following best practices and taking the best care of my tools.
I'm certainly not an expert. I know that I have very far to go, which is why I am on this Dev Bootcamp path today. But I can share some of what I have learned, particularly in relation to best practices for linking up your HTML and CSS using selectors.
Separating HTML & CSS
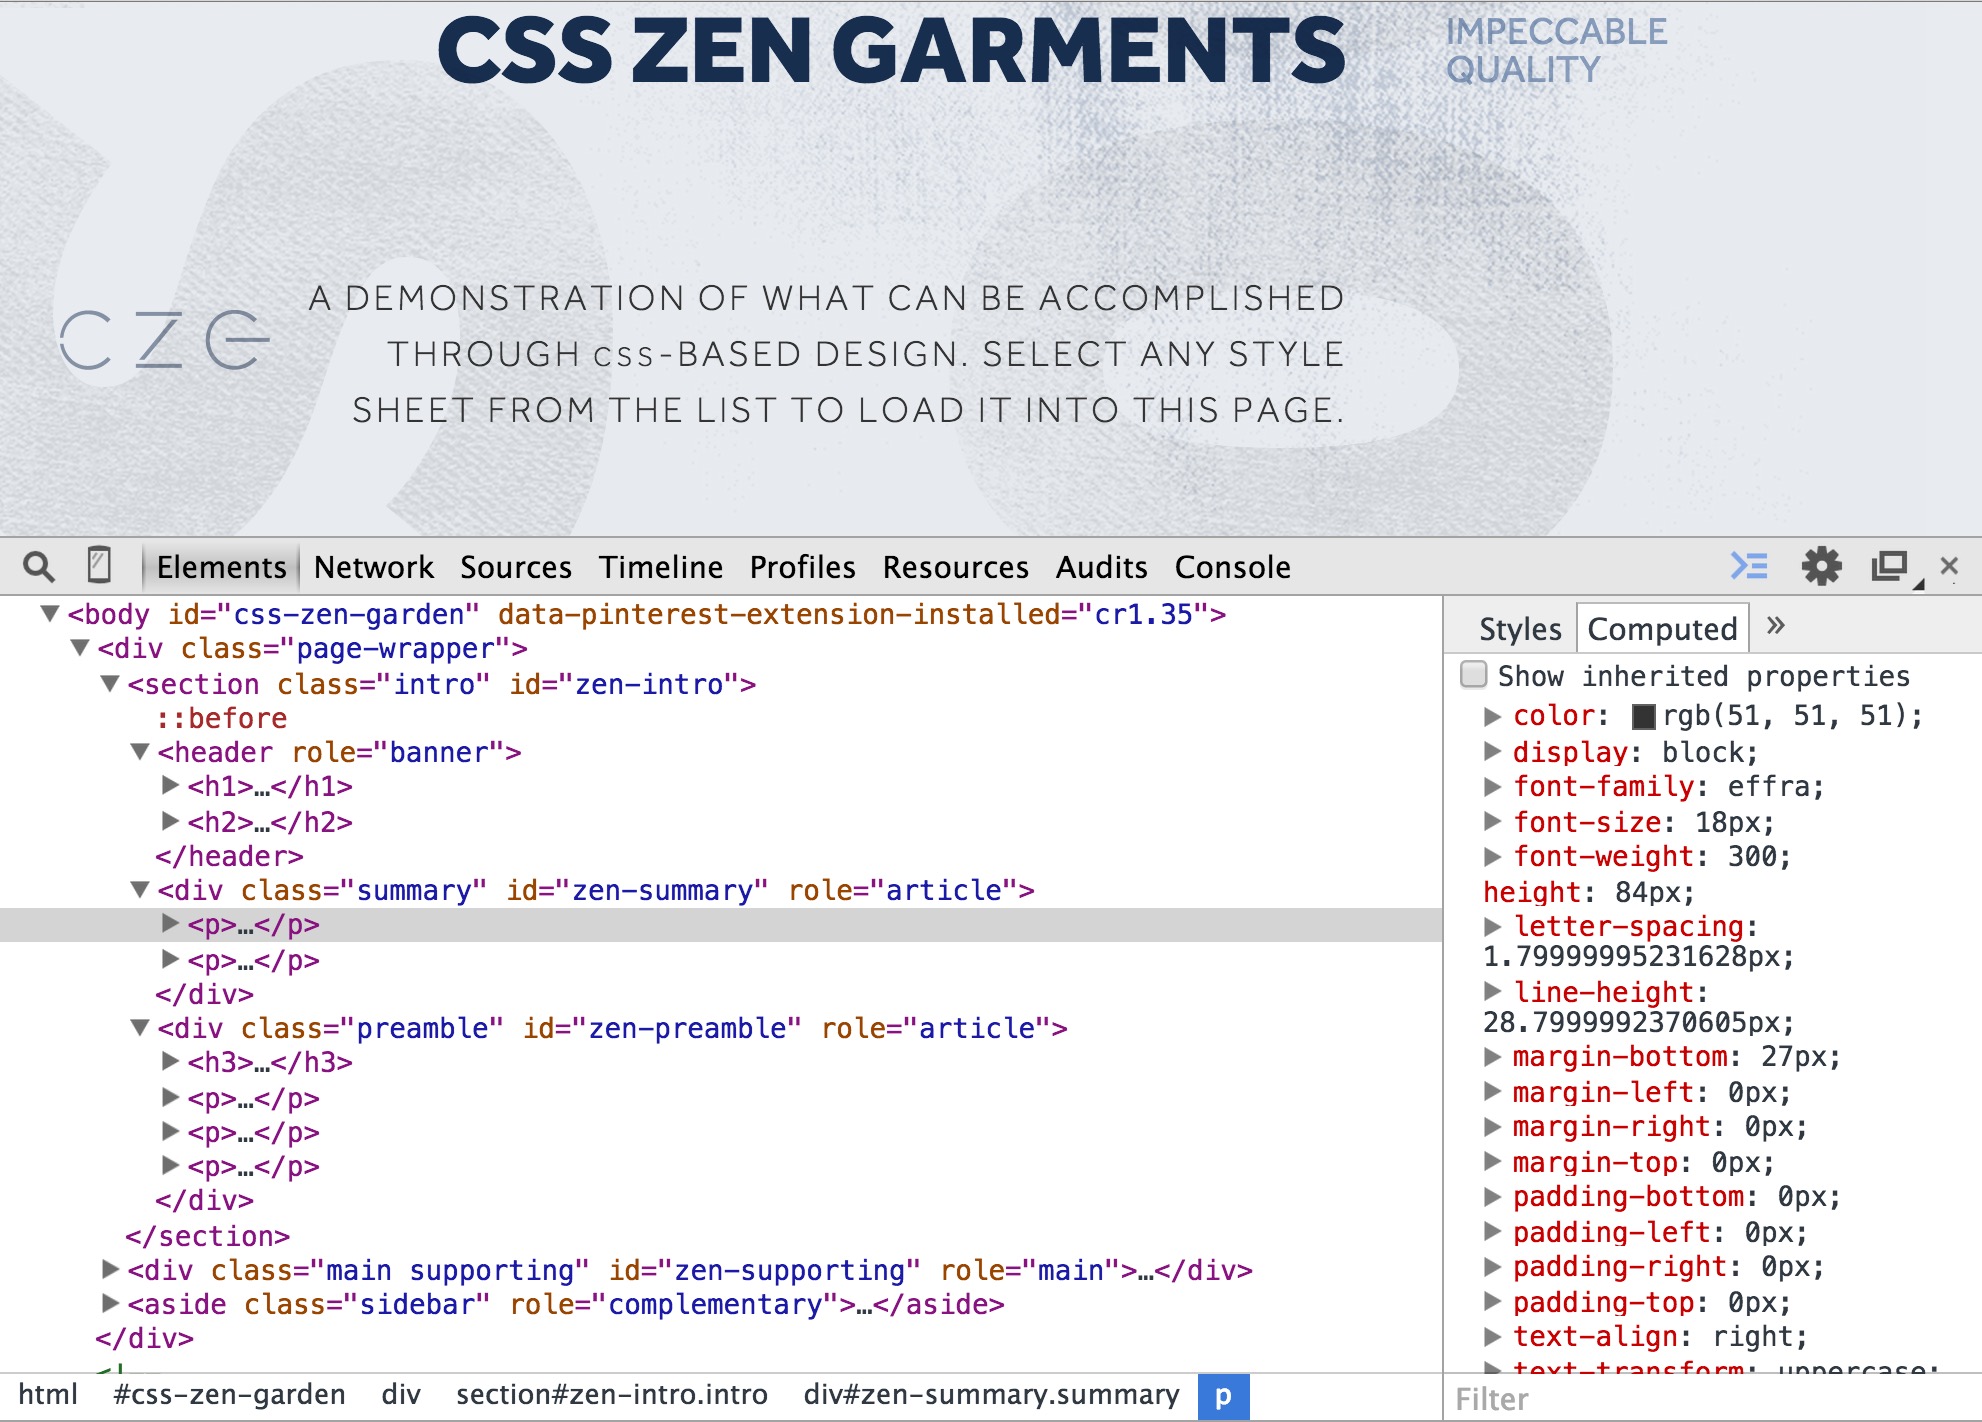
One core tenent of responsible web development is the separation of content/markup from style/presentation. All of the HTML is stored in one document, and all of the styles are in another. This makes sense for all manner of reasons - accessibility, SEO, maintainability and more - but one benefit of this approach is that, just like on CSS Zen Garden, we can swap out style sheets and have totally different appearances without changing the markup. Toadally.
Now that we have separated our markup from the styles, however, we need a way for our stylesheet to know what styles go where. The CSS needs to know which elements get which styles. We do this by using CSS selectors. Selectors can be the element tags themselves, or attributes we give individual elements such as "id" and "class."
<img class="image-class" id="image-id" src="image-source.jpg">To hook up our CSS, we usually target the tag directly, the class using ".class", or the id using "#id".
  img {
    border: 1px solid black;
    }
    .class {
    padding: 20px;
    }
    #id {
    width: 100%;
  }
In the code above "img { }" will add a black border to every image on the page; ".class { }" will add padding to every element on the page that has been given that class in the markup; "#id { }" will give only that specific element a width of 100% (since we only ever use the same ID once on a page).
And we can narrow down to specific elements by writing
header h1 {
      color: orange;
      font-size: 40px;
}<header>
<h1>Jan</h1>
</header>
Code Guide has a great reference of easy-to-reference best practices for using CSS selectors. Here are a few basics:
IDs can raise issues with specificity (which needs it's own blog post to be well-understood) and are not recommended to be used with CSS any longer. (You'll still see it all the time, but we're trying to get away from it.)
- Use classes over generic element tag for optimum rendering performance.
- Keep selectors short and strive to limit the number of elements in each selector to three.
- Use meaningful names; use structural or purposeful names over presentational.
- Keep classes as short and succinct as possible.
- Keep classes lowercase and use dashes (not underscores or camelCase). Dashes serve as natural breaks in related class (e.g.,
.btnand.btn-danger).- Avoid excessive and arbitrary shorthand notation.
.btnis useful for button, but.sdoesn't mean anything.
CSS class naming and BEM: Contemporary practice is another helpful resource for learning how to chose class names for your work. I'd toadally suggest checking it and the Code Guide out for more information!